
One of the most frustrating moments is likely waking up in the morning, glancing at the mirror, and noticing there are two more wrinkles climbing on your face.
Whether you’re a professional photographer looking to enhance your clients’ portraits or an amateur enthusiast wanting to preserve cherished memories, the ability to remove wrinkles from photos can make a significant difference.
In this blog post, we will explore various wrinkle remover apps, tips, and tools that will empower you to remove wrinkles effortlessly. This will help you restore youthfulness and vibrancy to your images. From basic touch-ups to advanced editing techniques, get ready to transform your photos and bring out the best in your subjects.
Say goodbye to wrinkles and hello to flawless portraits with our step-by-step tutorial guide to using these instant wrinkle remover tools.
HitPaw Photo Object Remover
Steps
Step 1: Import Photo.
To add the picture you want to remove things from, click the picture area in the center. Otherwise, you can simply drag the picture into the edit region.
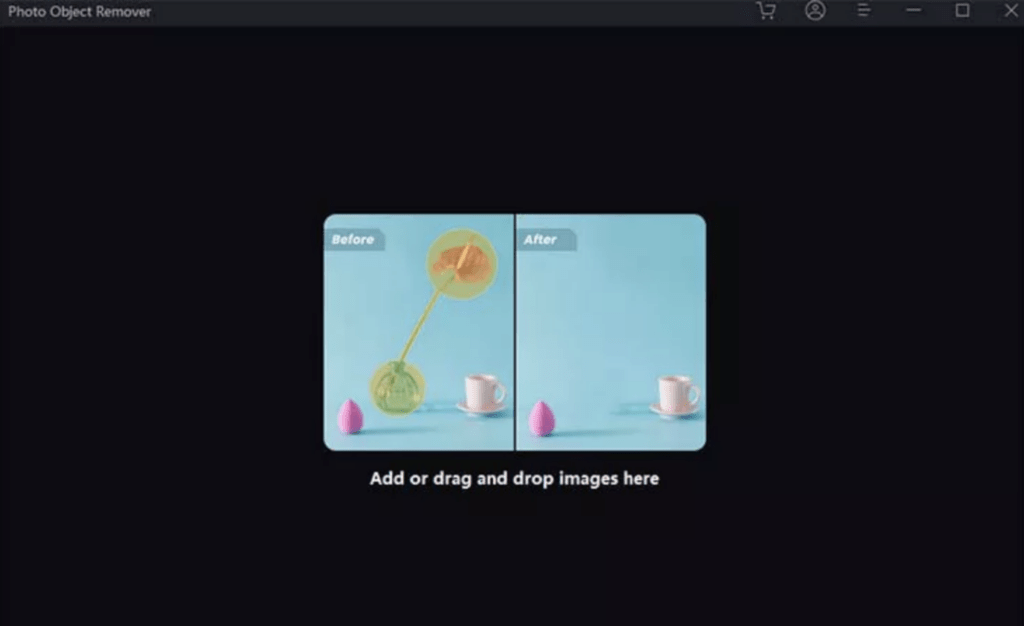
Step 2: Locate the Brush or Box Selection Tool.
The Brush or Box Selection tool can be found at the very bottom.

Step 3: Paint the wrinkles out or frame them.
Focus on the wrinkles to eliminate them by either painting or framing them out.
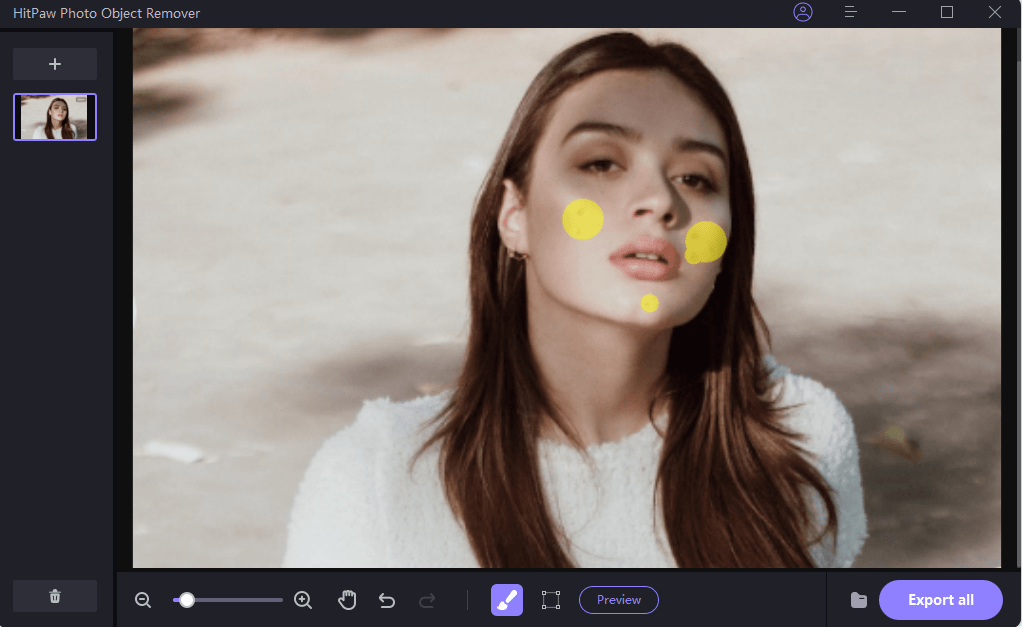
Step 4: Preview and Export the Photo.
To remove the wrinkles, finally, click “Preview”. To delete an object from the picture, click “Preview.” After selecting a place for saving, click “Export All” to download the completed picture or pictures to your system.
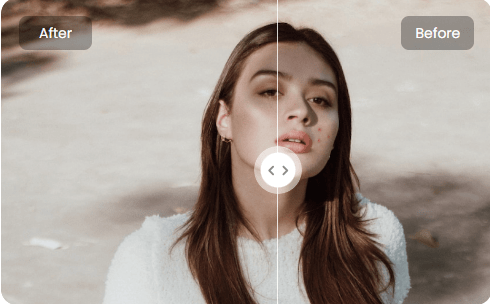
Pros & Cons
Pros
- easy to use
- natural processing effect
- handle multiple situations like removing objects from photos too
Cons
- only one free picture
Facetune
Steps
Step 1: Choose the image you wish to alter and launch Facetune.
Step 2: Choose the Retouch button from the bottom menu bar.
Step 3: Use the magic wand function to automatically modify your picture if you want a modest, natural modification. Go for the Smooth option if you want a somewhat more elegant appearance. Swipe your finger over any area you want to get better in. If the location is difficult to reach (crows’ feet, anyone? ), zoom in for a more precise touch.
Step 4: To increase the power of the app’s beauty, slide the bar.
Step 5: Another choice is to choose the Smoother function. You’ll be able to cover even the darkest lines with this.
Before and After:


Pros & Cons
Pros
- 7 days free trial
- need to log in and buy first, easy to forget uncancel
- Has a “before and after” comparison tool.
Cons
- need to have an account for payment
PiZap
Steps + Pictures
Step 1: Upload Your Photo
Step 2: Select the Wrinkle Removal Tool from the ‘Touch Up’ category and adjust brush size and strength
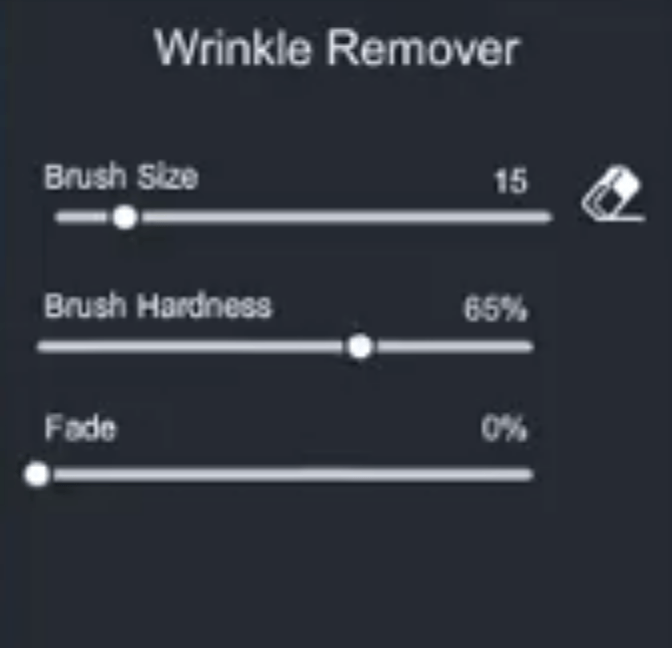
Step 3: Drag the brush over your wrinkles. 
Step 4: Zoom into your pictures using the plus sign if you feel the need to remove lighter and smaller wrinkles.

Step 5: Redo and Undo if you want to make any changes using the buttons.
Step 6: Locate the “Save” button to save the altered image. Click on it and export it to your desired folder on your computer.
Pros & Cons
Pros
- Diverse functions
Cons
- complicated to use
- plain quality can’t completely remove wrinkles
- Limited editing options
Photoshop
Steps
Step 1: Identify the wrinkles you want to edit, whether they’re minor or major.

Step 2: Remove the minor ones with healing tools like the ‘Spot Healing Brush Tool’. 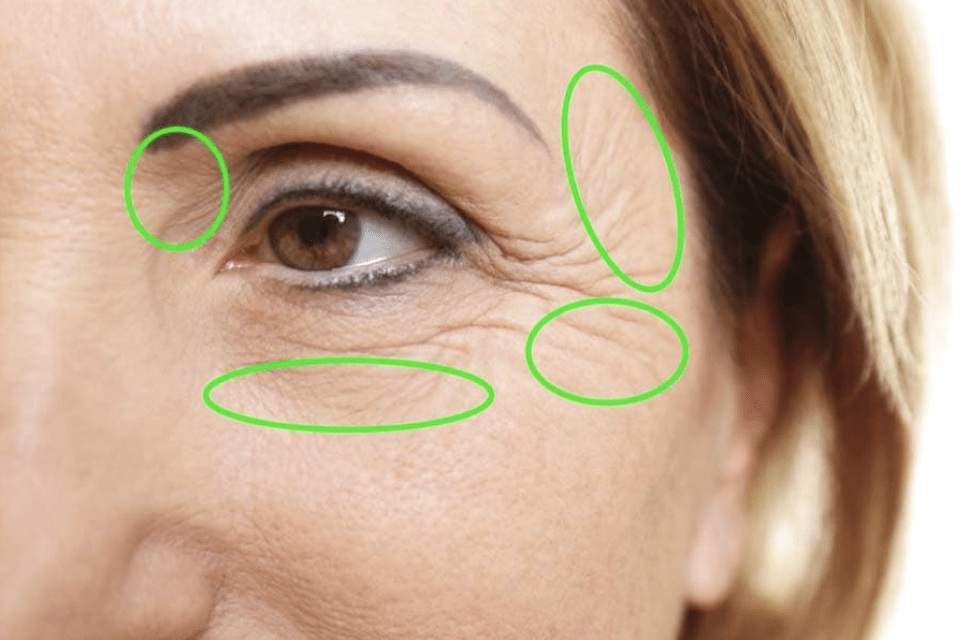
Step 3: For the major bigger wrinkles, use the ‘Healing Brush’ tool.
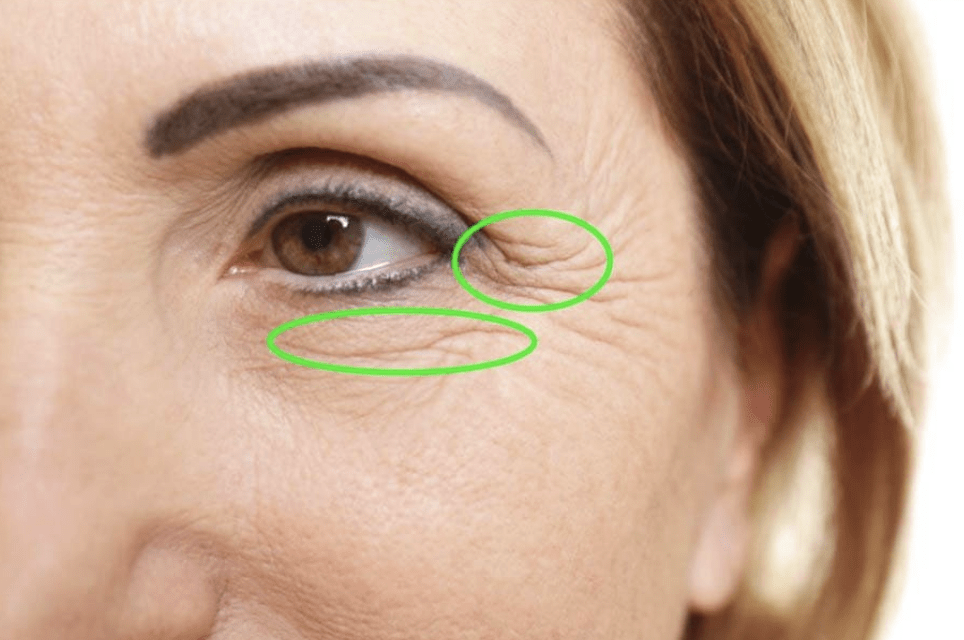
Step 4: For the darker wrinkles, change the ‘Blending Mode’ from ‘normal’ to ‘lighten’. 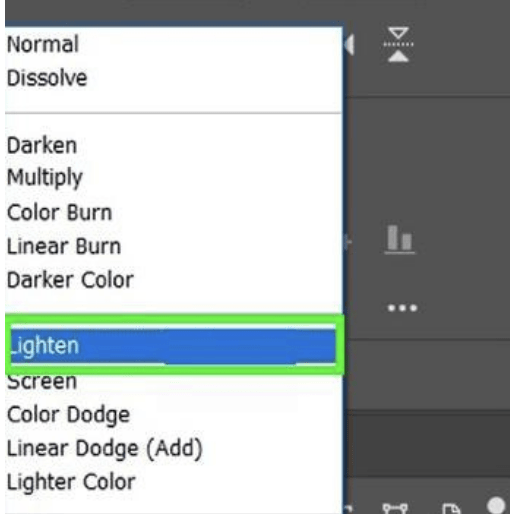
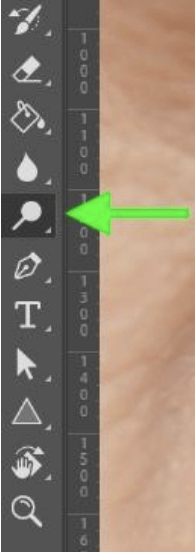
Step 5: Make final touch-ups using tools like the ‘Dodge Tool’ to adjust shadows and exposure.
Pros & Cons
Pros
- Offers high-quality and advanced features
- Can create professional-looking photos
- Offers a wide range of tools
Cons
- It can be difficult to use
- It can be overwhelming for beginners
- Expensive
SnapEdit
Steps
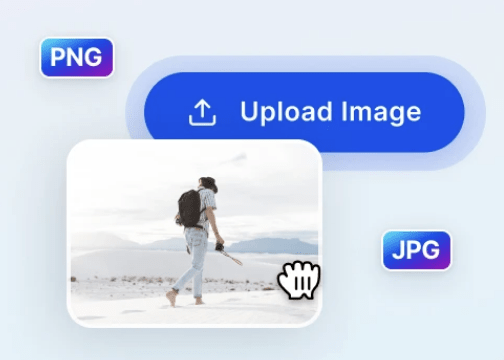
Step 1: Upload the picture that you want to edit.
Step 2: Select the wrinkles and use the eraser feature to remove them and then use the beautify tool for touch-up. 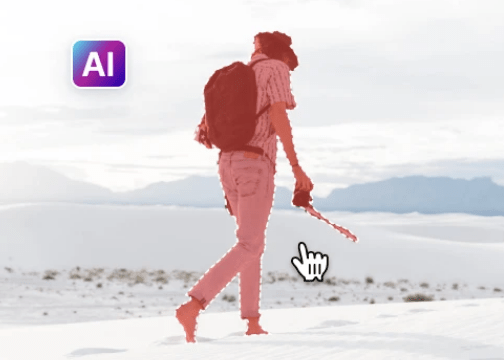
Step 3: Click on redo or undo if you need to make further edits then apply the changes by clicking on ‘Preview’. 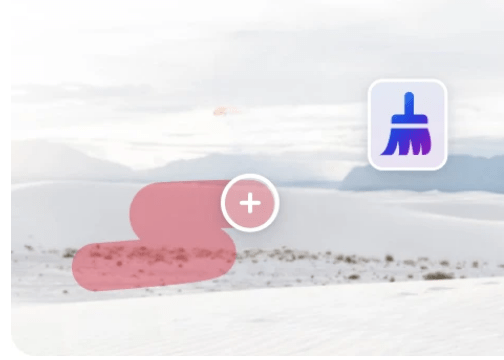
Step 4: Once you’re done, download the picture.
Pros & Cons
Pros
- There is an option to use it online
- It is easy to use
- There is a free version available
Cons
- The free version has too many ads
- easy to mix the eyebrow color with the forehead
Final Recommendation
Wrinkle removal in photos doesn’t have to be a hard task anymore. With the right tools, it’s easy to change your pictures and make yourself look younger and more alive.
Throughout this guide, we’ve talked about how to remove forehead wrinkles using a number of wrinkle remover apps. Even though each app has its own pros and cons, HitPaw Photo Object Remover stands out as the best choice.
HitPaw Photo Object Remover has an easy-to-use design that makes it easy for people of all skill levels to use. It has many tools for editing pictures, such as the ability to get rid of wrinkles without compromising the quality of your photo. In addition to instant wrinkle removal, it also lets you get rid of other elements and objects that you don’t want in your photos.
HitPaw Photo Object Remover is also affordable, which is a plus point making it the perfect choice for you.


